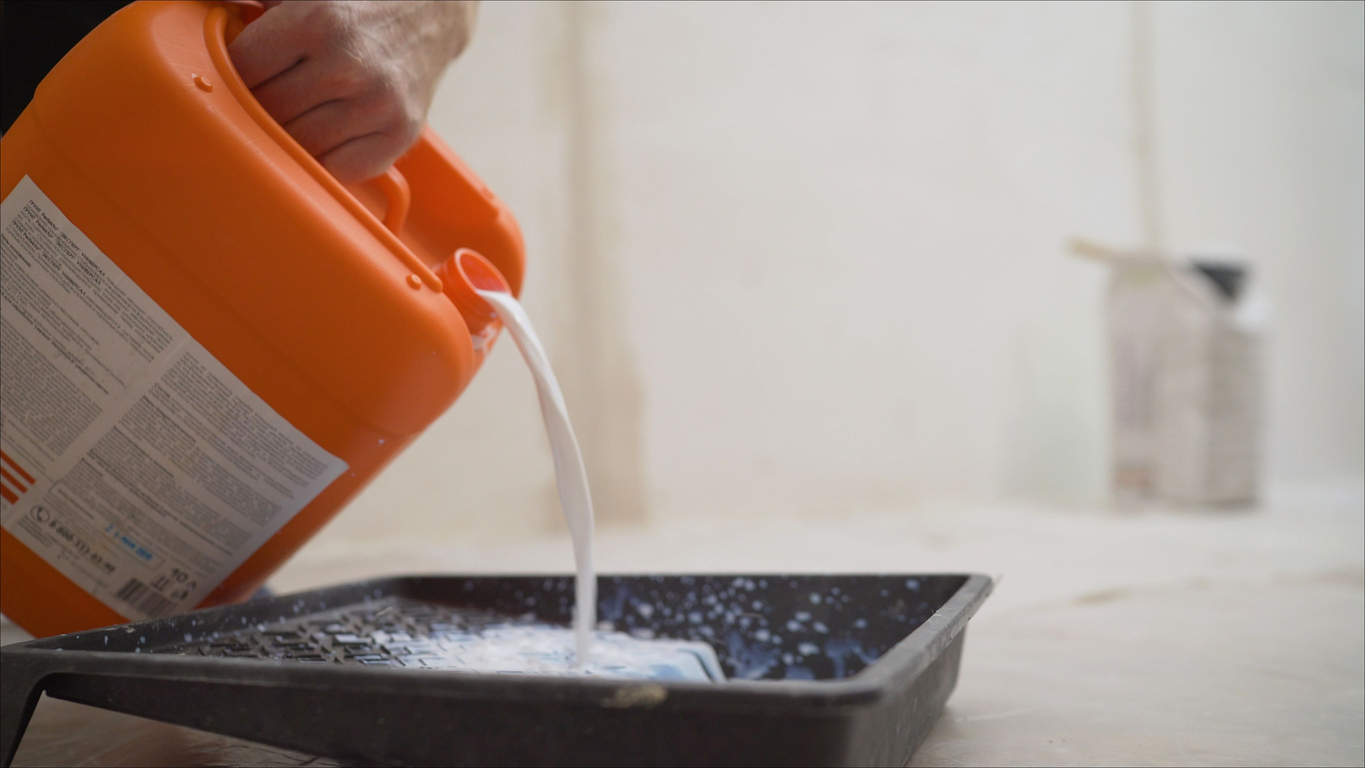
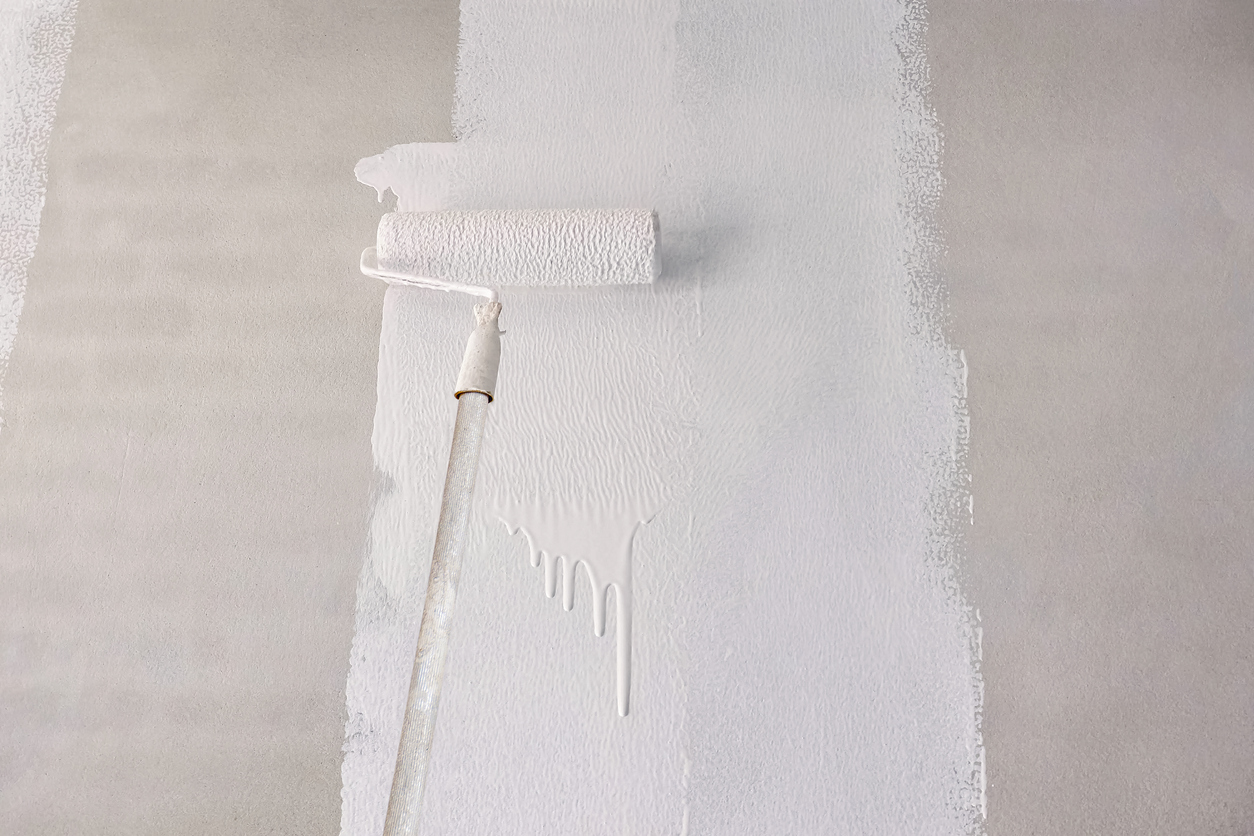
Choosing the right primer is a critical step in any painting project in the San Ramon, Dublin, Pleasanton, Livermore, and Danville areas. Primers prepare surfaces for paint, ensuring better adhesion and a smoother finish. Whether you’re painting walls, wood, metal, or other materials, different primers are designed to meet specific needs. In this article, we will explain various types of painting primers and their uses.
What is a Primer?
A primer is a preparatory coating applied to surfaces before painting. This can be important for all type of painting including commercial stenciling, faux painting and more. Its main job is to create a smooth, uniform base to which the paint can adhere. Primers seal the surface, making it less porous and more receptive to paint.
Primers also help cover imperfections, stains, and previous colors, providing a clean slate for your paint. This step is important for achieving a professional-looking finish. By using a primer, you can improve the durability and appearance of your paint job.
Types of Painting Primers
Choosing the right primer depends on the surface you are painting and the conditions of your project. Here are the main types of painting primers and their uses.
Acrylic Primer
Acrylic primers are water-based and made from acrylic resins. They dry quickly and have low levels of volatile organic compounds (VOCs), making them environmentally friendly. Acrylic primers are versatile and can be used on a variety of surfaces, including drywall, wood, and masonry.
They are ideal for projects where a quick turnaround is needed. However, they might not be the best choice for surfaces exposed to heavy wear or moisture. The main advantage is their ease of use and cleanup, while the drawback is their limited durability compared to other types.
Oil-Based Primer
Oil-based primers are known for their strong adhesion and stain-blocking properties. They work well on surfaces with previous stains, wood tannins, or heavy wear. Oil-based primers are suitable for both interior and exterior applications.
These primers take longer to dry and have higher VOC levels, requiring good ventilation during application. The main benefit is their durability and excellent coverage, but they can be harder to clean up and emit stronger odors.
Shellac Primer
Shellac primers are made from a natural resin secreted by lac bugs and dissolved in alcohol. They are excellent at blocking stains, odors, and water damage. Shellac primers can be used on various surfaces, including wood, metal, and plaster.
They dry quickly and provide a smooth finish, making them great for spot priming and surfaces that need heavy stain blocking. The downside is that they have a strong smell and require denatured alcohol for cleanup.
Latex Primer
Latex primers are also water-based and known for their flexibility and ease of use. They are great for drywall, plaster, and previously painted surfaces. They are easy to clean with soap and water and dry quickly.
They are not as effective at blocking stains as oil-based or shellac primers but are ideal for general use in areas without heavy stains or moisture. Their main advantages are their low odor and easy cleanup, while their disadvantage is their lower stain-blocking ability.
Specialty Primers
Specialty primers are designed for specific challenges. Stain-blocking primers cover tough stains like water damage and nicotine. High-adhesion primers are formulated to stick to difficult surfaces like glossy finishes and tile. Mold-resistant primers contain additives to prevent mold growth, making them perfect for bathrooms and kitchens. Rust-inhibiting primers protect metal surfaces from rust, ensuring longevity and durability.
Each specialty primer addresses a particular need, offering solutions for challenging painting conditions. Their main advantage is their targeted performance, but they can be more expensive than general-purpose primers.
Choosing the Right Primer for Your Project
Selecting the appropriate primer is key to achieving a smooth and long-lasting paint job. Here are the factors to consider when choosing a primer for your project.
Surface Material
Different surfaces require different primers. For example, wood, drywall, and metal each need specific primers to ensure proper adhesion and finish. Choose a primer designed for the material you are working with.
Condition of the Surface
Consider whether the surface is new, previously painted, or stained. New surfaces may need a primer that seals and prepares the material, while stained or previously painted surfaces might require stain-blocking or high-adhesion primers.
Environmental Conditions
Humidity and temperature can affect primer performance. In high humidity or extreme temperatures, select a primer that is formulated to handle these conditions to prevent peeling and ensure durability.
Matching Primers with Specific Projects
Different projects have different needs. For interior projects, low-VOC primers are a good choice, while exterior projects may require primers with weather-resistant properties. For small touch-ups, a quick-drying primer is best, whereas large-scale projects benefit from a primer with strong coverage and durability.
Interior vs. Exterior Projects
Interior primers are designed to have low odor and quick drying times, while exterior primers need to withstand weather elements and temperature changes. Make sure to choose a primer appropriate for the environment.
Small Touch-Ups vs. Large-Scale Projects
Small touch-ups may require a primer that dries quickly and blends well with the existing paint. Large-scale projects need a primer that offers great coverage and durability over large areas.
Specialty Surfaces
Choose a primer designed specifically for cabinets, furniture, and other specialty surfaces. Specialty primers provide the best adhesion and finish for challenging surfaces.
Application Tips and Best Practices
Here are some tips and best practices to follow when it comes to applying primer.
- Surface Preparation
Clean the surface thoroughly to remove dust, dirt, and grease. Sand the area to create a smooth base to adhere to for the primer. Proper preparation ensures better adhesion and a more professional finish.
- Repairing Imperfections
Fill in any cracks, holes, or imperfections with appropriate fillers. Once dry, sand the repairs until they are smooth. This step creates an even surface for the primer and paint.
- Application Methods
Choose the right tool for the job. Brushes are good for detailed areas and edges, rollers are best for large, flat surfaces, and sprayers can be used for a smooth, even coat on large areas. Each method has its advantages depending on the project.
- Drying Times and Re-Coating
Follow the manufacturer’s instructions for drying times. Allow the primer to dry completely before applying another coat or the topcoat. Proper drying times prevent peeling and ensure a durable finish.
- Common Mistakes to Avoid
Avoid applying primer too thickly, as it can lead to uneven drying and poor adhesion. Do not skip surface preparation, as it is crucial for a good finish. Make sure to use the right type of primer for your surface and project conditions.
Conclusion
Choosing the right primer is important for the success of any painting project. Understanding the different types of primers and their uses can help you achieve a durable and appealing finish. If you need expert help, Custom Painting, Inc. offers services tailored to your needs. Contact us at 925-866-9610 or fill out a Contact Form for more information.


